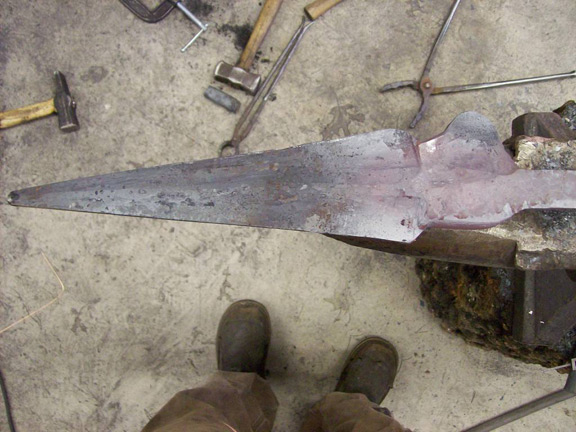
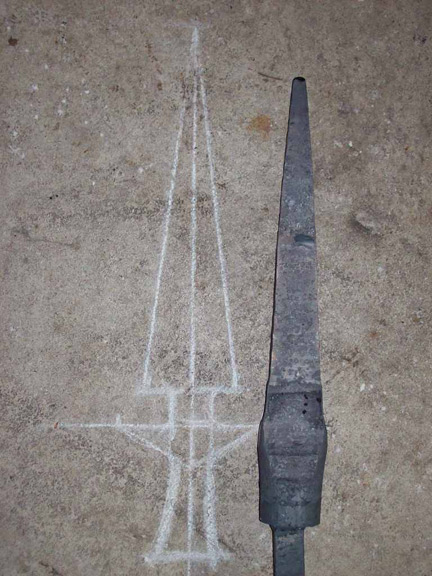
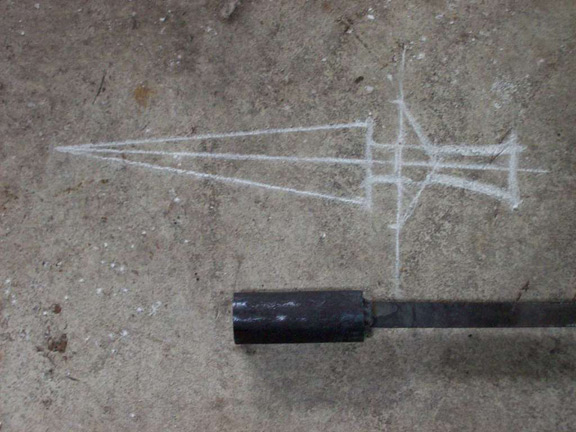
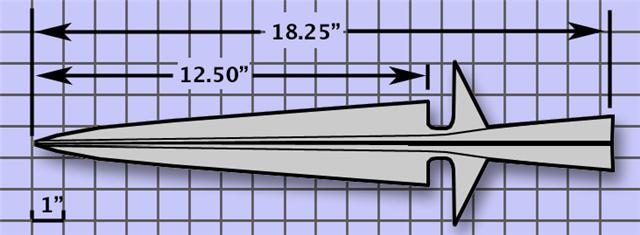
- The spear is the have the profile of a drawing the Jean sent to me and is attached below, the midrib is to stand out and the spear should be suitable of a cutting attack as well a thrust.
- The lugs are to be more as part of, or and extension of the blade and not separate pieces, they should be capable of being used as an offensive feature, or a defensive feature.
- The spear will be mounted on a shaft with languetts
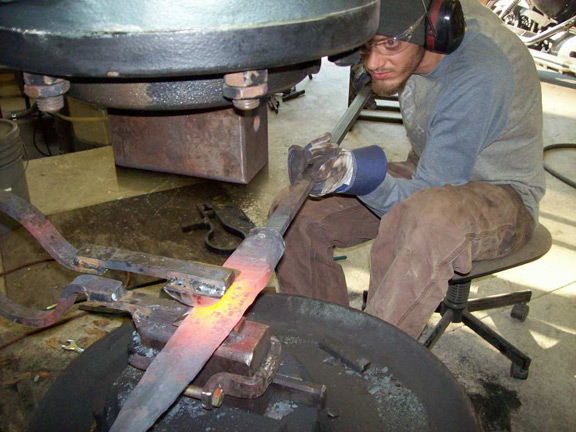
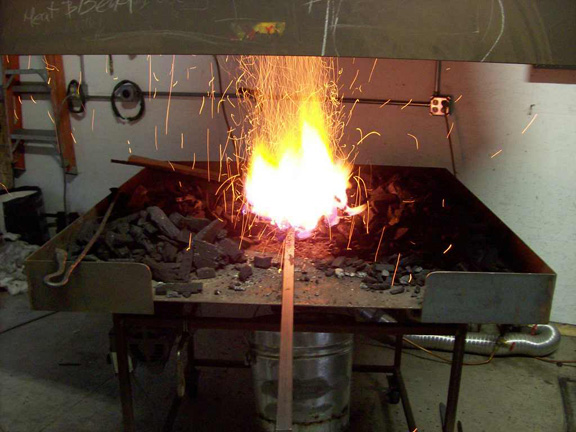
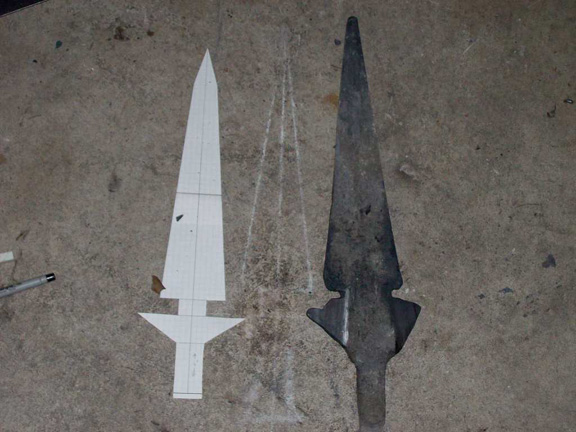
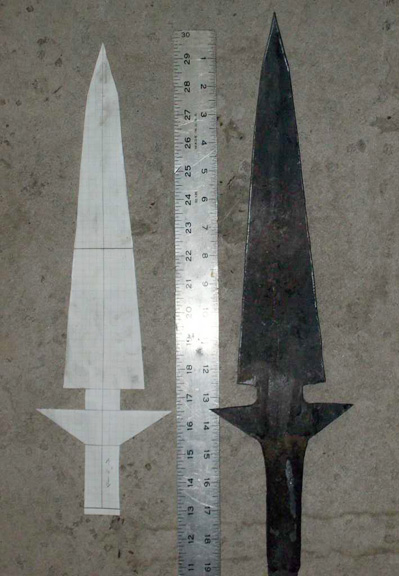
I was hoping to use L6 since I am familiar with the steel and heat treat but there was no way for me to achieve the width and thickness that I needed with the stock that I have and ordering a full sized bar of L6 big enough for this project would have ended up costing me more then what the spear costs so I decided to use W2 instead which will still deliver an excellent product. I started out with a 2 1/8" round piece that was 5" long and started working in my shape as you can see in the attached pictures. I realize that what you currently see looks a little rough and off, but after I pull the other lug and rough shape my socket I will proceed to hand forge the spear to the final shape and everything will "click."
Jean, please feel free to add your thoughts and comments. If there are any questions you can feel free to ask and I will do my best to answer them. I will add updates as they occur and the details that are involved in each stage. Right now I am just roughing everything in and getting my general shape and form in so I don't have a whole lot to get into.