| Author |
Message |
Greyson Brown

|
 Posted: Mon 04 Jun, 2007 8:19 am Post subject: Posted: Mon 04 Jun, 2007 8:19 am Post subject: |
 |
|
I spent this weekend blacksmithing and working on scabbard projects. I started early on by burning myself pretty good, but that seems to have placated Murphy somehow, and the rest of my projects went fairly well.
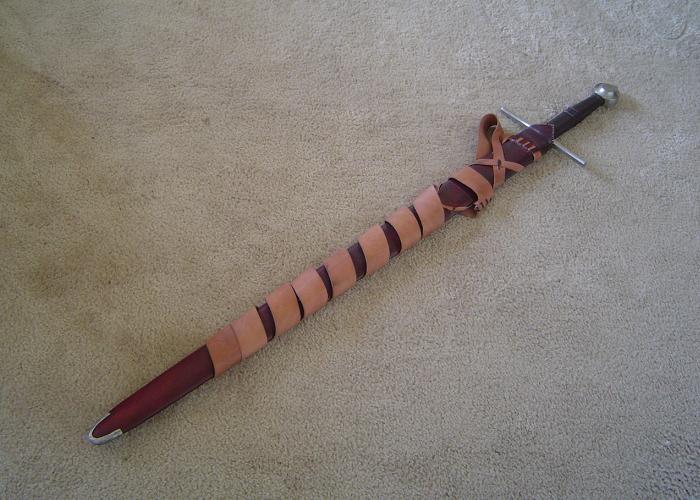
I started by making a chape for my Steward scabbard. It is just a simple U shaped chape, and I left it with some of the pitting from the forge to give it a slightly rugged appearance. I'm happy with this one, though I possibly should have made the sides longer.
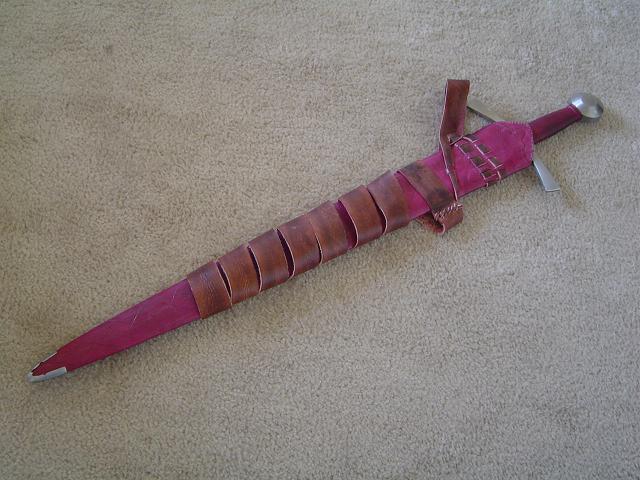
The next order of business was to make a buckle. Unfortunately, I have not done any blacksmithing in four years, and a well made buckle really requires that the ring be welded. This makes it stronger and avoids gaps that will interfer with the movement of the tongue. I never claimed to be an expert forge welder, but I used to be fairly comfortable with it. Having not kept up with it, though, I only had one successful weld out of three attempts. It's not a very pretty buckle in the end, but it works. Since the buckles were going to be for me, and not a customer, I decided not beat my head against the wall. One buckle is good enough for now (though I am still debating whether or not I will actually use it), and I will work more on buckle making in the near future.
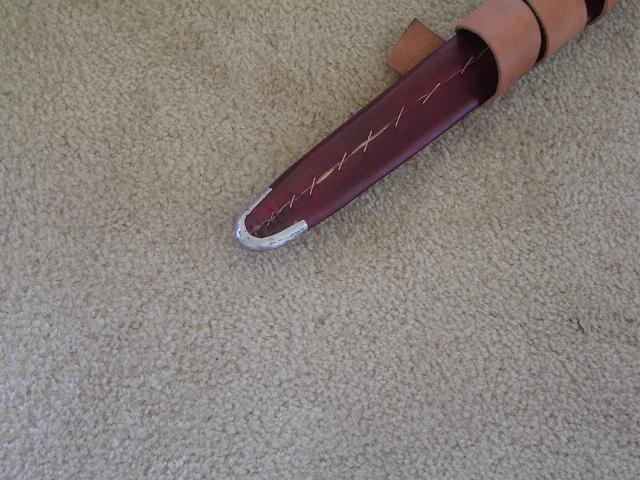
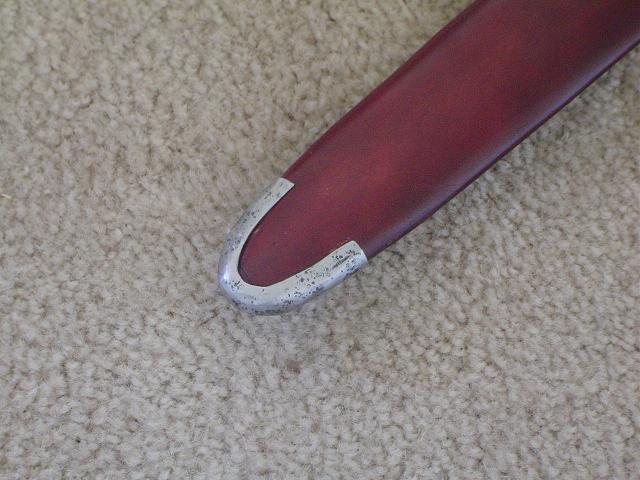
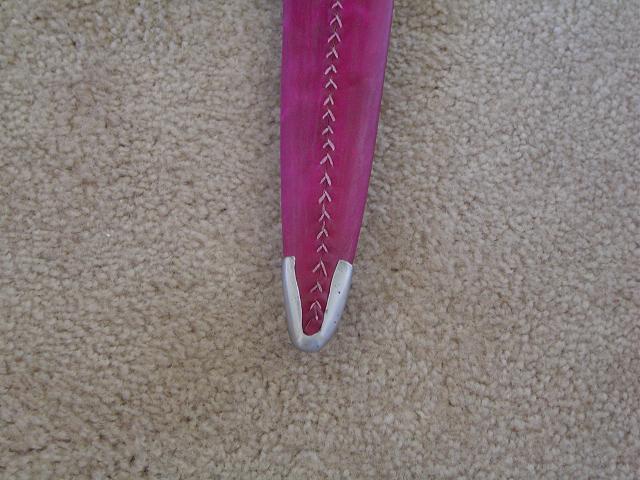
I also made a chape for my Sherriff scabbard. It turned out fairly nice, and I set to work cleaning it up. I wanted to remove all of the pits, but in the proccess I filed through a portion on the front left side. The material I was using came from the local salvage place and was, I think, a piece of metal edging used in landscaping. Unfortunately, it had been sitting outside and had rather noticable rust pits. That, in addition to the material lost to scale and hammering, meant filing out all of the pits could be rather risky work. Still, I got most of them out and then welded a patch onto the spot that I filed through. In cleaning up my weld, I discovered that I still have several thin spots, so I decided to compromise and left several pits in the chape. I also had one thin spot on the edge of the chape that was causing me problems. I tried to do a little decorative file work to remove it (and mirrored it on the other side, of course), but I don't think it looks very good. The little point filed into the end was deliberate, was planned from the begining, and turned out decent, so I would say that I am about 75% happy with this chape.
That's all I got done on my scabbards this weekend, but at least I have a couple that are closer to completion.
-Grey
 Attachment: 67.16 KB Attachment: 67.16 KB
Attachment: 58.99 KB
Attachment: 55.04 KB
Attachment: 15.98 KB

Attachment: 60.99 KB
Attachment: 58.55 KB
Attachment: 52.83 KB

"So long as I can keep the path of honor I am well content."
-Sir Arthur Conan Doyle, The White Company
|
|
  |
 |
Greyson Brown
|
| Posted: Mon 04 Jun, 2007 8:38 am Post subject: |
|
|
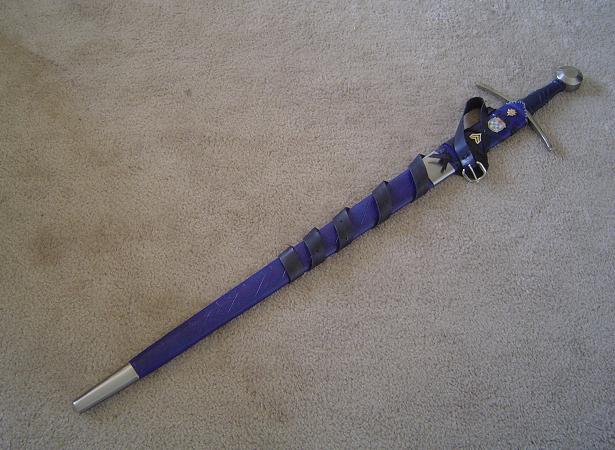
Almost forgot! I also put a buckle on my 101 MI scabbard. This is just an economy buckle from Tandy Leather, so it's nothing really special, but this one is finally complete and wearable.
-Grey
Attachment: 57.05 KB
"So long as I can keep the path of honor I am well content."
-Sir Arthur Conan Doyle, The White Company
|
|
|
|
|
|
|
You cannot post new topics in this forum
You cannot reply to topics in this forum
You cannot edit your posts in this forum
You cannot delete your posts in this forum
You cannot vote in polls in this forum
You cannot attach files in this forum
You can download files in this forum
|
All contents © Copyright 2003-2024 myArmoury.com — All rights reserved
Discussion forums powered by phpBB © The phpBB Group
Switch to the Basic Low-bandwidth Version of the forum
|

