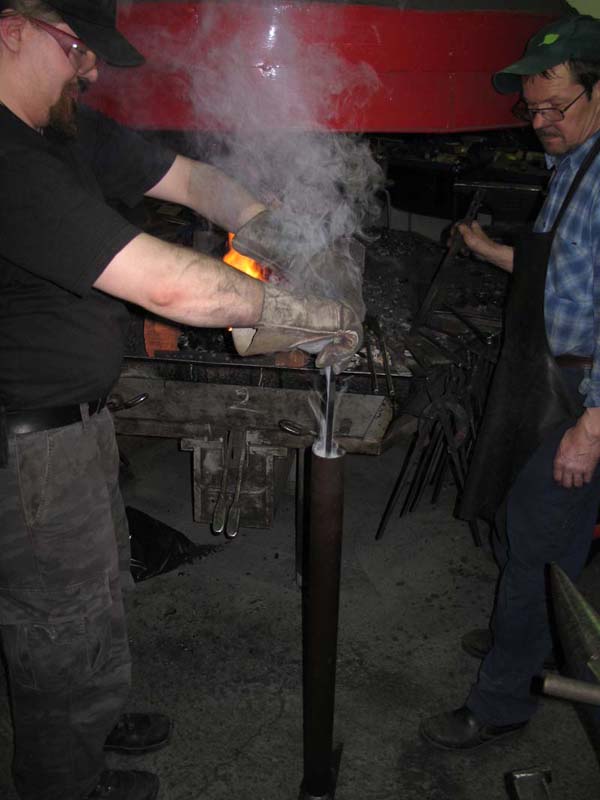
Phew! A long wait has come to an end. Over six months has passed since I got a chance to spend some time at the forge. And here is what I came up with.
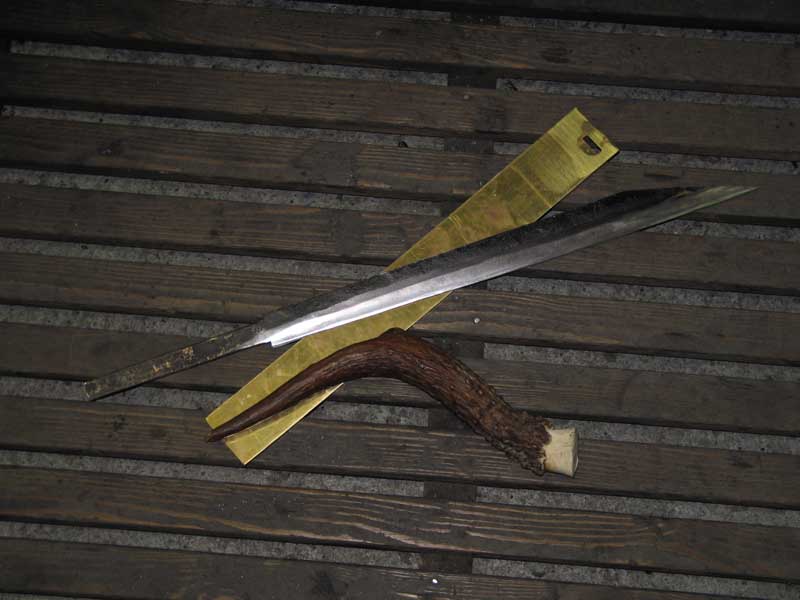
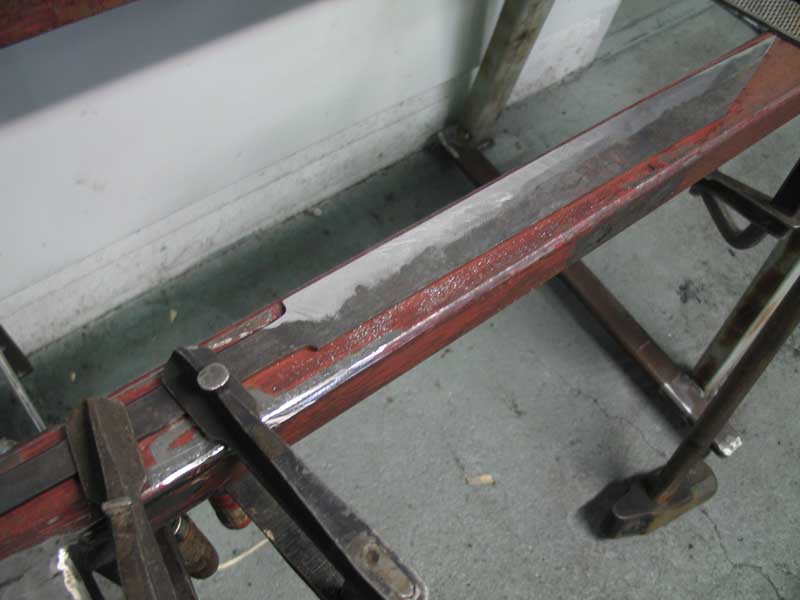
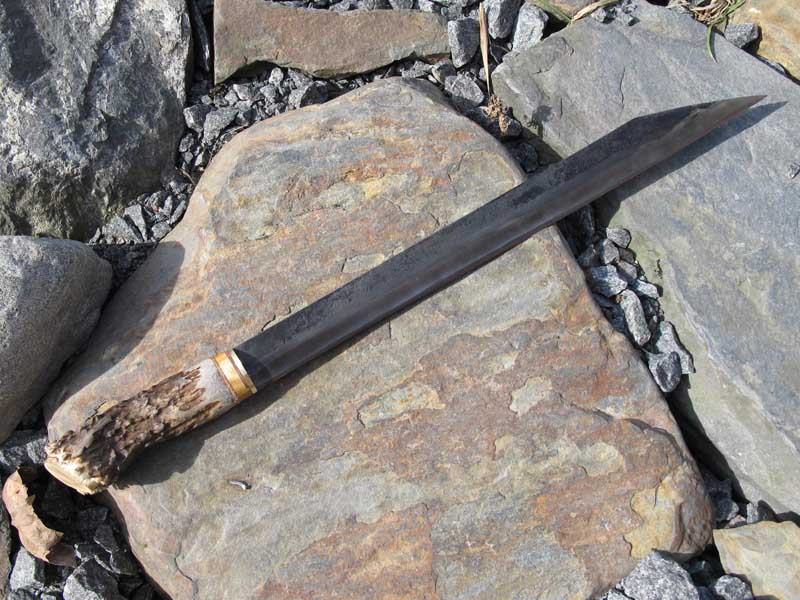
Yep. It's a seax. Forged from a spring steel, filed, heat treated and sharpened. Here are the stats
OA lenght: 57cm
Blade lenght: 44cm
Blade width at the widest point: 4cm
Blade thicknes: 5mm with a very subtle distal taper
Any comments would be appriciated.
I've been busting my head with the scabbard. I'm aware that a seax should be slung horizontaly at the waist. Now that my seax measures almost 60cm the question is: How horizontaly should I wear it? And should I make a wooden core for the scabbard or settle with just thick leather. I think I would feel much more secure with the wooden core, but is it historicaly correct?
-mr
The Seax